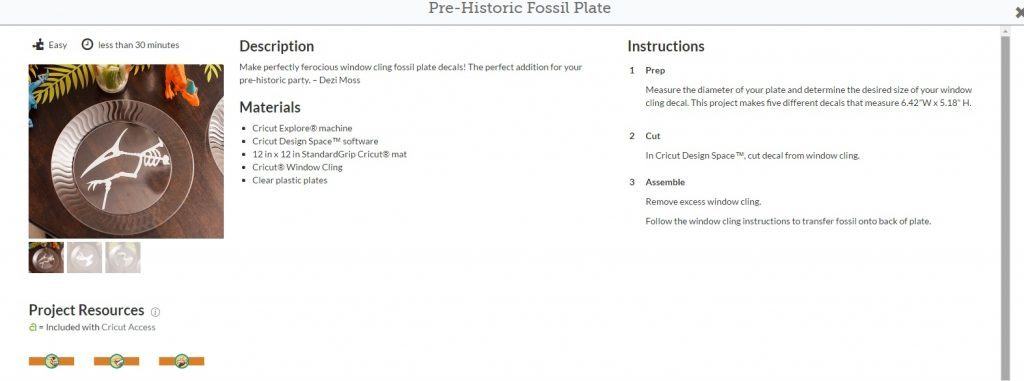
We have entered that trying era where kids start to be a bit more selective in what they will eat. By “bit” I mean “How the heck can they survive when they eat so little? They liked dinosaur shaped chicken nuggets just fine yesterday. Just try one bite. PLEASE. I just know you’re going to be telling me you’re hungry later. Help!”
Ahem.


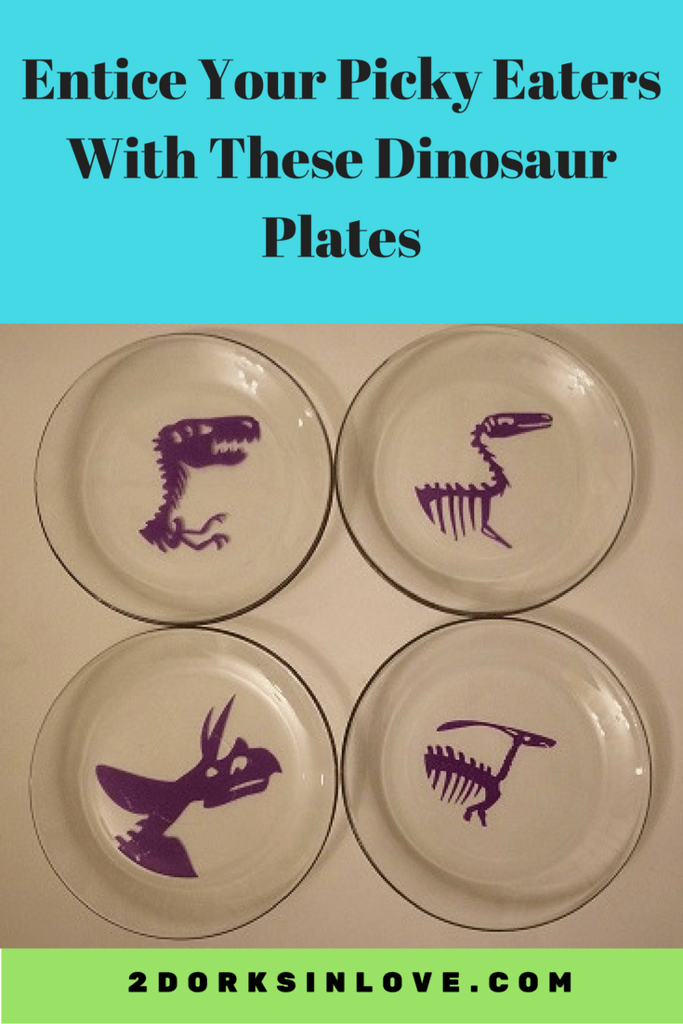
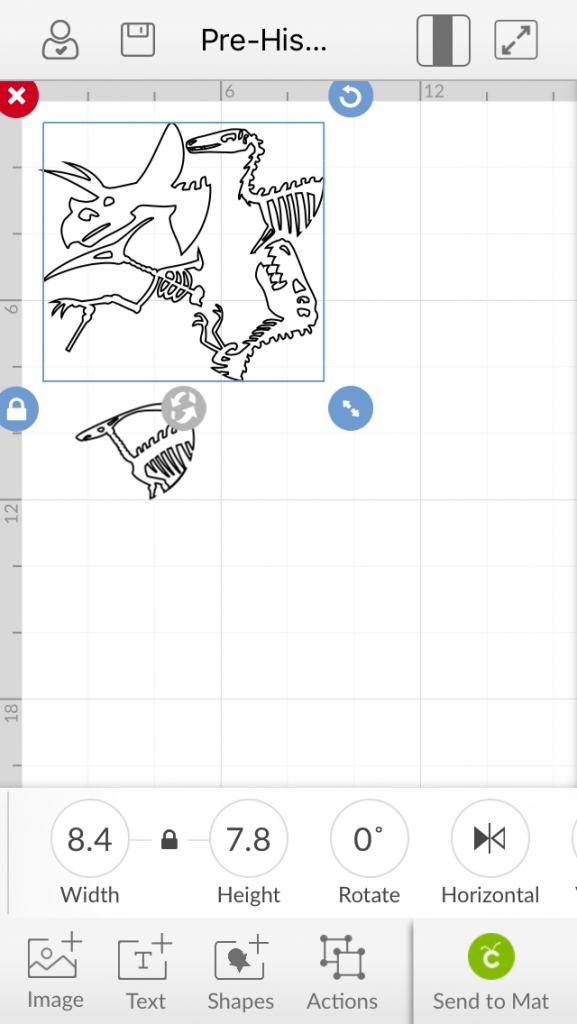
When I was looking through all of the amazing projects in the Cricut Design Space™ to find the geekiest ones that I could do on my new Cricut Explore Air™ 2 machine, these dinosaur plates caught my eye. I knew that I had a set of clear glass salad plates sitting in my cupboard that didn’t see much use. Perhaps telling Miss ZZ to eat her food so she could find the dinosaurs would help. It seemed like an easy project to start with so I could learn all of the ins and outs of using my favorite new toy.
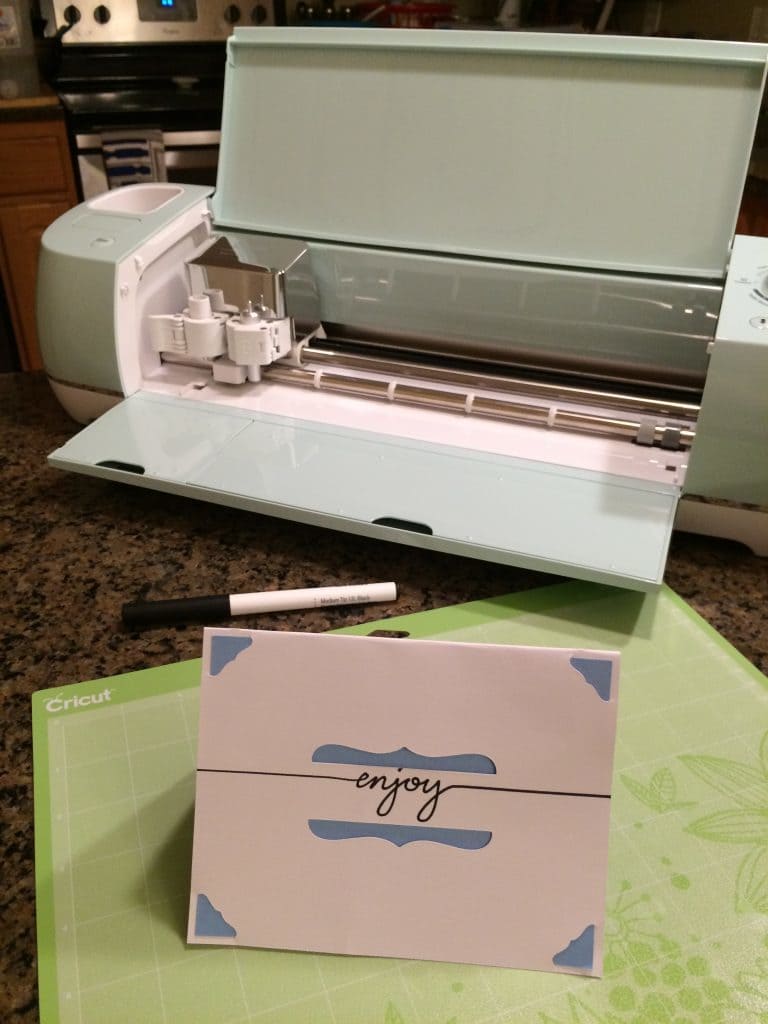
I plugged in the machine and turned it on. After turning on the Bluetooth on my iPhone so that the Cricut Design Space™ app could pair up with my machine and send it the images for cutting. The box came with a cute little card kit to help you practice cutting and inserting the pens for drawing. You also work on calibrating it so your project comes out perfectly.
Since this was going to be permanent, I did switch from window cling material to vinyl. I chose purple because it’s her favorite color. The beauty of this machine is that you can customize things so easily, whether it’s their name, favorite colors or favorite fandoms. I also resized them in the app to be smaller since these were salad plates.
I just placed a sheet of 12×12″ vinyl on my mat, loaded it into the machine, sent the images to the mat and made it go. It was so much fun to watch it make quick work of cutting it out. I can’t even imagine ever trying to cut it out myself! Once it was done, I weeded out all of the negative pieces (the parts you remove so that the design shows up) using Cricut’s weeding tool.

Next, you cut out around the vinyl and cut a matching piece of transfer tape that is a little bigger. Remove the back of the tape and pop it on top of your design, making sure all parts are covered. Use a scraper to go over the vinyl to smooth out bubbles, starting in the middle and going towards the edges. Remove the backing of the vinyl so that it is left on the transfer tape.

Carefully position it on your plate and use the scraper to go over it again. Peel away the tape using a 45 degree angle.

You will need to handwash these plates to help make sure the vinyl adhesive doesn’t get too hot in a dishwasher and dissolve. If you don’t want to do that, you could go back to the original design and make it a window cling that take off each time.
What project would you do first with the Cricut Explore Air 2?
This is a sponsored conversation written by me on behalf of Cricut. The opinions and text are all mine.